[Editor Pam’s note: My bad, Kate finished this story in Dec. 2013, and I never got around to publishing it. This weekend I was “cleaning” and caught my #fail, so here ya go!] Kate writes:
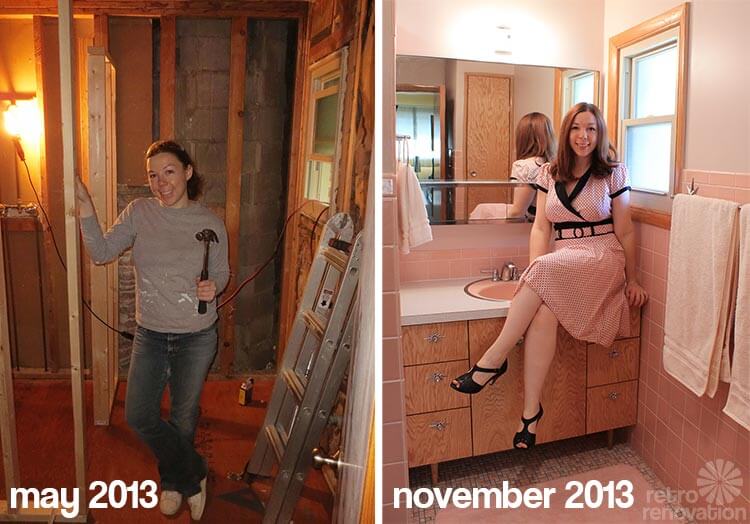
My epic DIY bathroom gut remodel — a six-month and six-day long DIY project — is now complete. Along with my sense of pride and accomplishment in having achieved such a feat mostly by myself, I also feel a sense of duty to share some of the lessons learned along the way and my methods for approaching such a ginormous undertaking. A project of this magnitude can be all-consuming, frustrating, exhilarating and stressful all at once, but with careful planning many would-be road bumps can be greatly reduced or eliminated all together.
 1. Budget ahead of time
I’m not the type of person to take out a loan for remodeling purposes, or to finance a remodel on credit. That’s why it is important for me to have a rough idea of how much a project may cost before it begins. Planning out the budget in advance allows plenty of time to stockpile cash ahead of time. Having done several remodeling projects over the last seven years, fact is that even with careful budgeting, unexpected costs can really add up. It is true what the experts say about budgeting for a remodel: figure out your budget and then add at least 10% more to the cost. Any time walls or ceilings are opened up it is possible to expose unforeseen issues that must be addressed, such as moisture damage, faulty wiring, etc, which cost extra money to repair.
Whenever it is time to start thinking about the amount of money needed to complete a large project, estimating how much each and every part will cost by making a list like Pam’s checklist of 84 costs to consider when remodeling a bathroom is a great way to start. By assigning a rough dollar amount to each item on the list, based on the known cost of materials selected — like specific tile and fixtures — and my estimates for how much contractor work will likely cost, one can arrive at a rough number to aim for when saving. Of course it is always best to get a quote from contractors, but if you’ve done remodeling before and are still a year or more away from actually starting the project, estimating is a good place to start.
Once the rough estimate number plus the recommended 10% is decided, it is time to save as much money as possible prior to beginning the project. One of the good things about DIY-ing and budgeting is that: If you save the bulk of the expenses upfront, then take several months to work on the project — buying materials as you need them — any budget overages can be paid for as they arise instead of in one overwhelming lump sum.
 2. Save time and money by fixing other issues at the same time
When getting contractor quotes for your project, it pays to ask about unrelated smaller issues for them to fix in other areas of your home at the same time. Case in point, when hiring the electrician to rewire my pink bathroom, he also installed a new fan and switch in the hall bath and vented both fans outside at the same time. This saved me money in the long run, since the electrician was already coming to my house and going up in the attic. The same happened with the HVAC contractor, who put radiant heat flooring in both bathrooms (since they back up to one another) and added another register in my chilly office. As long as our system was drained to work on adding the new zone for radiant heat flooring in the bath under construction, it wasn’t that much more work for them to install the new baseboard.
On the subject of saving money, it is also important to watch for sales on any materials you know will be needed during the course of the project. I frequently shop at Menards, a big box home improvement store with a rebate system that has saved me hundreds of dollars over the life of my bathroom remodel. Every so often they have 11% off everything in the store sales, where you can mail in your store receipt in exchange for a rebate slip good for 11% of your total bill, redeemable in store credit. When one of these “sales” popped up, I’d make a big trip to buy large quantities of materials and tools needed for my bathroom project, then use the rebate money earned to finance part of my next big trip, usually also during an 11% off everything sale again. Another way to save is by using a credit card that offers cash back rewards. Knowing that we would be remodeling a bathroom, I saved up as many credit card cash back reward points as possible before hand, then traded them all in for Home Depot gift cards that paid for nearly all of the pink bathroom floor tile. When all was said and done, 4% of the total cost of my project was financed with Menards rebates and cash back rewards points. Not too shabby if I do say so myself.
 3. Before making changes, decide what is most important
I learned this tip when my husband and I were planning our wedding. We decided the top-three most important aspects for our big day (for us it was getting a good photographer, having a Photo Booth, and finding a convenient and fun location for our special day) and then allowed ourselves to spend most of our total budget on those three key items. Everything else: the dress, the food, decorations, etc. was less important to us, so we tried to be as frugal as possible in these areas.
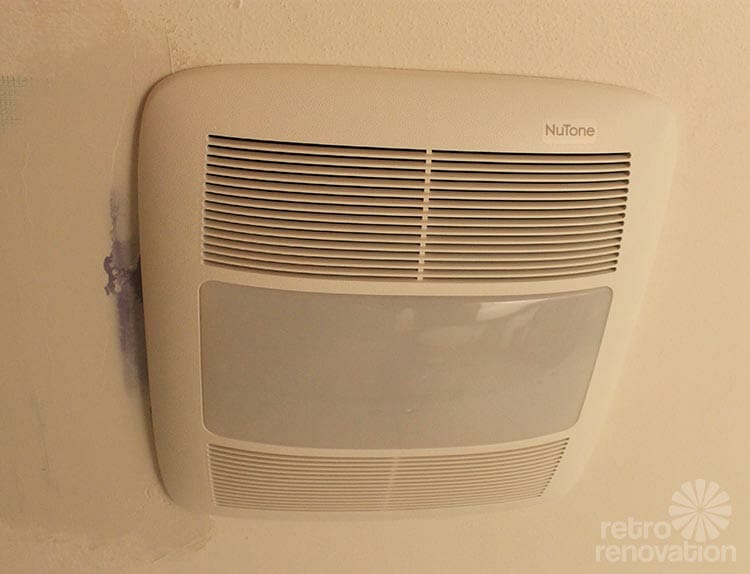
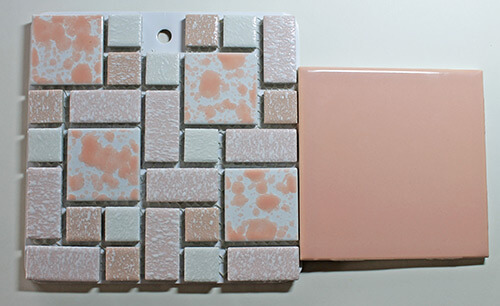
The same can be said about remodeling a room in your house. For my bathroom, the three most important parts were getting the right pink tile, raising the comfort level (radiant heat flooring) and addressing moisture issues that caused all sort of problems — from decaying grout to rusted metal. For this reason, we spent a large chunk of our overall budget — over a third of the total amount spent — buying just the right tile, adding radiant heat and buying a top-of-the-line exhaust fan and epoxy grout to help with the moisture/gunk issues.
 4. Plan, plan, plan
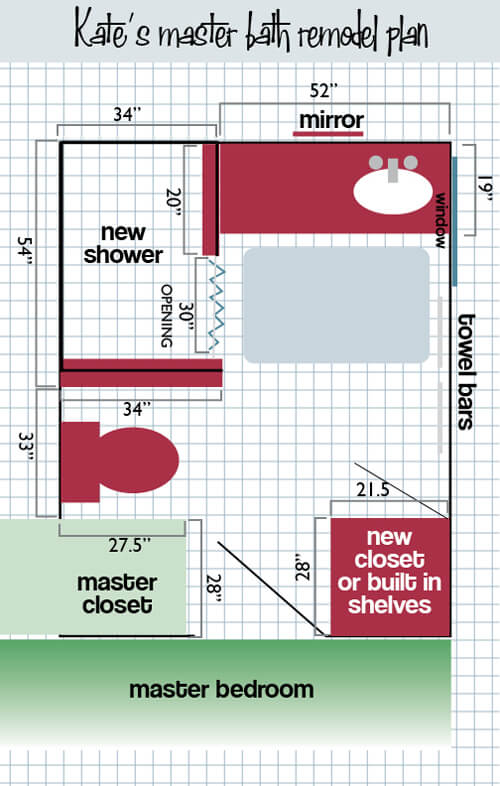
Before we got anywhere near prying the first tile off the wall in our master bathroom, we had already been planning for more than two years. It became apparent to me, shortly after moving in to our 1962 ranch, that while the rest of the house functioned well, our master bathroom did not. The bathroom itself was not in great shape — as you can see from my list of 12 reasons why I decided to do a full gut remodel – and would have to be dealt with. Like Pam, I agree that living in a house for at least a year before making major changes is a good idea, but in my case it took me a full two years to feel confident enough in the remodel plan for our master bathroom. It wasn’t just the look of the space that needed to be right, but also being sure that the altered layout was both the best use the available space and matched our needs. During the planning stage, many hours were spent measuring, thinking, and researching how all of the essential parts of the bathroom remodel might come together. It was hard work, but when it came time to begin, my excessive planning sessions gave me the confidence to move forward. Of course there were a few adjustments to the master plan as the project progressed, but they were minor and did not greatly effect the outcome of the bathroom.
5. When doing DIY work, allow plenty of time
When trying to calculate the amount of time a project may take to complete, always double it if the project is DIY heavy. You’ll need to allow plenty of time to do research, both when choosing which products you will use and learning how to install them. When it comes to actually doing the work, it always seems to take way longer than you think it will, especially you’ve never done the task before. Out of all the time spent on my bathroom project, my estimate is that 1/3 of the total time invested was spent doing research.
 6. When tackling large DIY projects, take it one step at a time
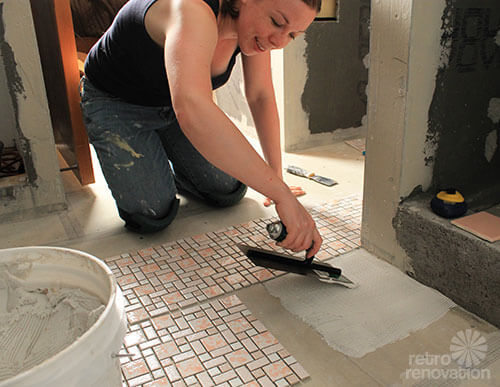
My husband would agree: Over the course of the six-month bathroom remodel, I had a few minor break-downs. They mostly occurred when trying to focus on too many parts of the project at once, thus overloading my brain and paralyzing me — making it impossible for me to do anything — which made me even more manic. Each time this happened, my husband would remind me that there was no real deadline to finish the project (only self-imposed goals of hope). He suggested writing out a long list of every step from start to finish, focusing on only one task at a time, and crossing them off as they were completed. This strategy helped immensely. Of course the big picture still had to be kept in mind, to make sure the electrician, plumber or HVAC contractors were given enough notice to show up when needed, but focusing on only how to install the tile flooring was so much less stressful than trying to also plan the wall tile at the same time. As the project progressed and I checked items off the list one by one, the overwhelming feeling left me and was replaced by optimism that the project would soon be complete.
 7. I’ll try anything once… well, almost anything
There’s nothing that makes me more proud than a DIY job well done. The challenge of learning new skills, working with my hands, saving money in labor costs and the feeling of accomplishment as each job is finished is a wonderful feeling. That being said, there are some parts of home remodeling that you couldn’t get me to touch with a ten-foot pole. It is ok to let the professionals do any part of a job that scares the living daylights out of you. For me this is plumbing, electrical and HVAC work — oh and anything that involves cutting a hole in my roof to vent exhaust fans. No thank you. For me, paying someone who is trained, has years of practice under their belt, is aware of all the local codes and ordinances and feels confident working with these important — and if not done correctly — dangerous aspects of home repair is the best plan.
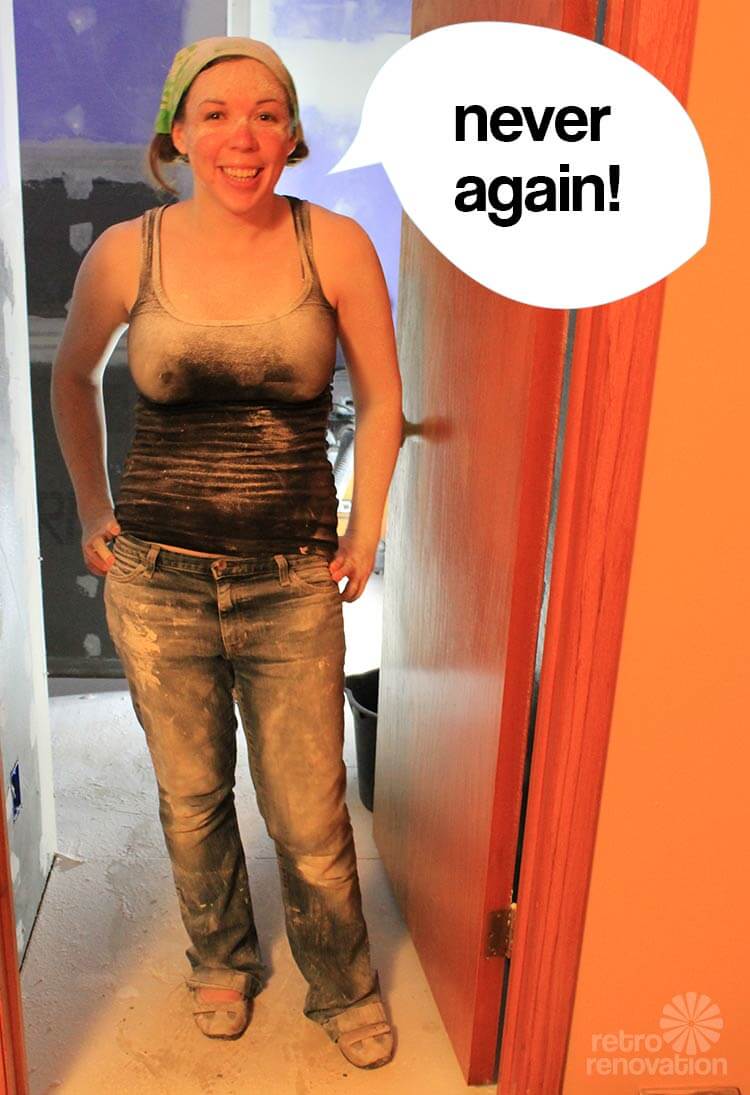
Newly added to my list after the bathroom remodel: any future drywall work — especially on the ceiling — other than small patch jobs will be hired out to professionals. There are just some DIY projects that are tried once and then lumped into the category of projects never to put myself through again.
Though it was a long and involved remodel, doing another bathroom in the future is something I’d tackle again, just so long as someone else did the drywall for me.
 8. Reduce, Reuse, Recycle when possible
When it came time to to the demo for my master bathroom project, one of my goals was to save as much as possible to either be reused or recycled — which in turn saved money on the cost of disposing the debris. I donated the old sink, toilet, ceramic toilet paper towel bar and soap holders, mirror, shower head, faucet, cabinet pulls, door knobs, light fixtures and light switch plates to my local Habitat for Humanity ReStore for other retro remodelers to discover. I carefully removed the nails and screws of still usable 2×4 boards from the removed closet and shower walls and used them during the rebuilding of new stud walls and to be saved as scrap wood for smaller projects in the future. I saved the old closet shelves and used some as the floor of the new closet. The three old closet doors, which our Restore would not accept, are sitting in the garage waiting to be turned into storage shelving. The old built-in laundry basket drawer that was part of the old vanity now corrals bags of garden soil in the garage, and the vanity’s two drawers hold small balls of twine, tent stakes and yard tools. Saving what we did from the landfill not only reduced clean up costs, but also saved money in supplies. While it is not possible to save and reuse everything from a remodel of this scale, the more that can be reused, the better your wallet — and conscience — will feel.
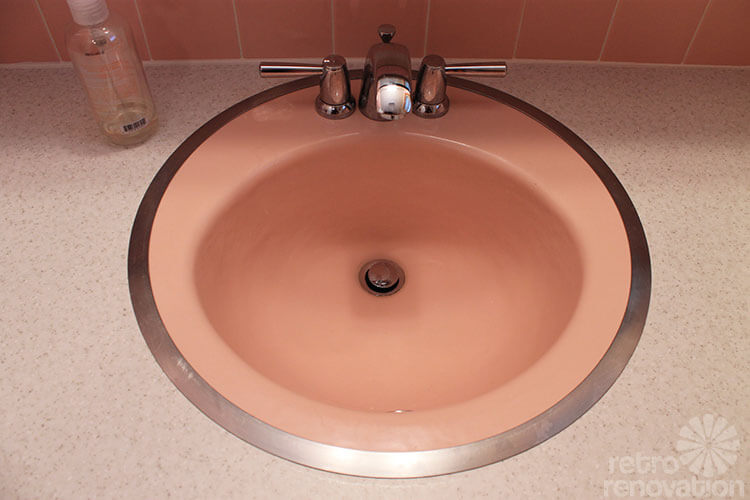
Along this same note, when buying materials for the project I strived to acquire vintage materials — like the shower curtain rod, towel holders, knobs, light fixture, mirror, and sink. When vintage couldn’t be found, my next goal was choosing made in the USA products as much as possible such as the fan/light combo, most of the rough building materials (2x4s, plywood, drywall, cement board, etc.), pink B&W bathroom tiles, and vanity legs to name a few. Putting in a higher quality product was high on my list of priorities too, even if it came at a slightly higher cost. It is my hope using these well-built products will help the bathroom stay in good working order as long as possible, following the “built to last” mentality of yesteryear.
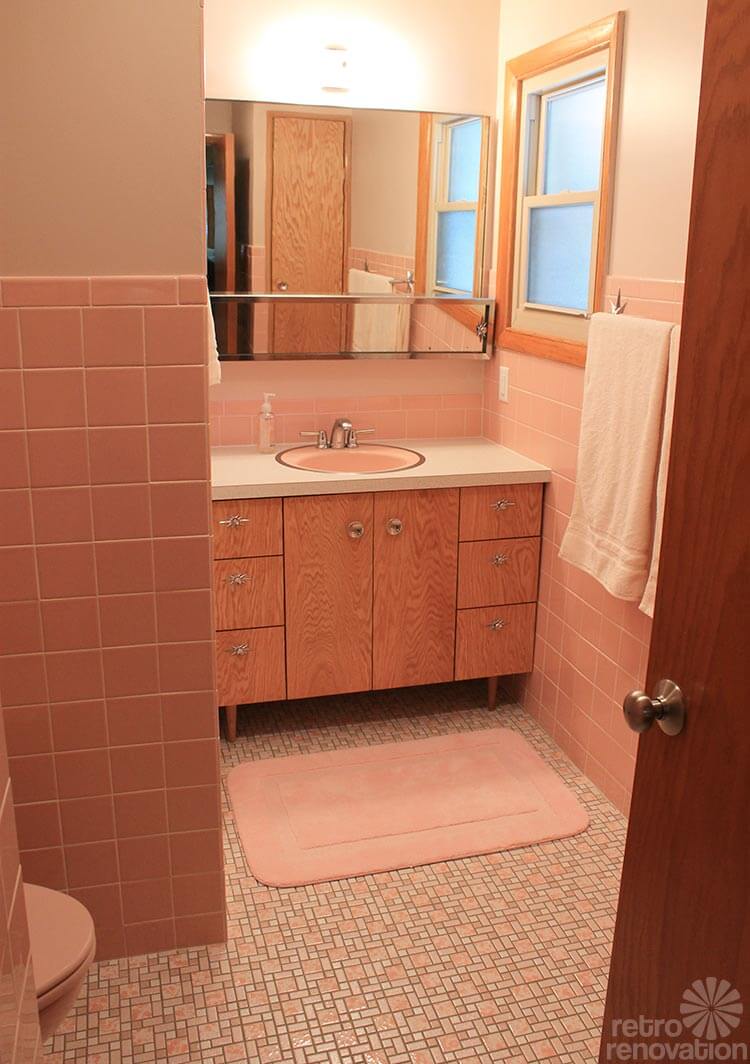
 My retro bathroom remodel took years of planning, months and months of saving money, mountains of careful research and hours upon hours to complete. And the result of all this hard work is — a well built, functional and beautiful bathroom that will be loved and appreciated for years to come.
Readers, what do you think of my lessons learned?
Do you have more lessons to share from your own major DIY projects?
The post Kate’s DIY bathroom gut remodel — 8 lessons learned appeared first on Retro Renovation.













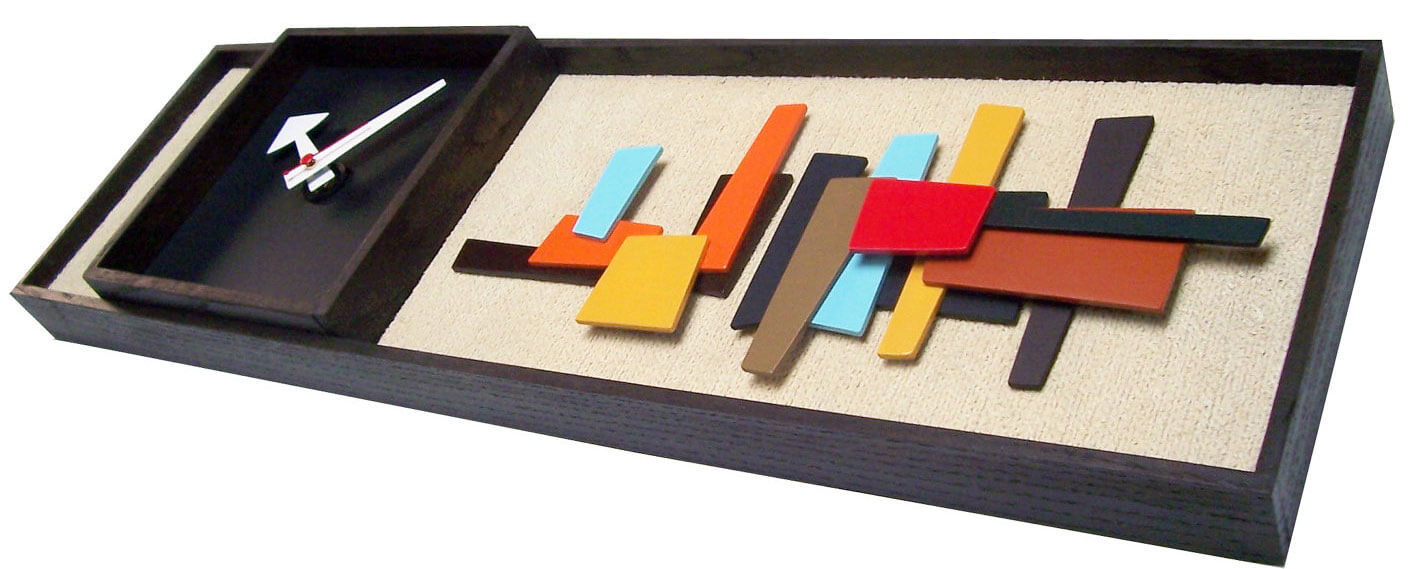
 Jetsetretro Design’s etsy store introduces Yager as a professional full-time studio artist who has been deeply involved with the world of art and design for over 30 years. He is also represented by many galleries and has also sold his work across the globe.
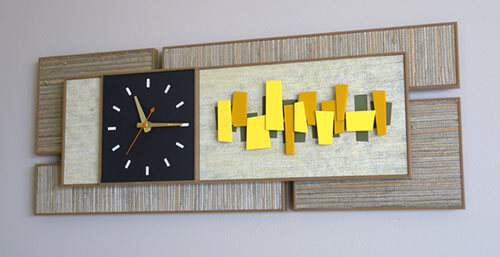
 I chatted with Yager a bit via etsy mail, and he explained that he started designing clocks about 18 years ago. George Nelson ball clocks were his first inspiration. After that launched, he received many requests for the Mondrian clock and also began playing in that sphere. Or rectangle, as it were.
 He said the vintage Sunbeam clock has been out of production since the late 1960s. And that, yes, “It’s so hard to get a hold of an original these days.”
 Prices for Jetsetretro’s clocks run from $185 to $325.